

Saving contacts to a table
From Prospect Search
1
Open Prospect Search
Go to Prospect Search in the left navigation.
2
Show details on your contacts
Click Show details on the contacts you want to save.
3
Choose or name a table
Click Table, then choose an existing table or enter a new table name.
4
Set the table visibility
Set the visibility: Public (visible and editable by all team members) or Private (visible only to you and Admins).
5
Save the table
Click Save.
Bulk saving contacts
1
Select the contacts
In Prospect Search, tick the checkboxes next to the contacts you want.
2
Add to a table
Click Add to table.
3
Choose or create the table
Select an existing table or create a new one.
You can save contacts to multiple tables. Adding a contact to a second table creates a copy - it does not remove them from the original. You can also save contacts before revealing them - no credits are consumed until you click Show.
From Workspace
When working in Workspace, use the table button in the toolbar to save selected contacts to a table, or choose a preset amount (50, 150, 500, or 1,000 contacts) from the Save selected dropdown.Saving companies
1
Open Company Search
Go to Company Search in the left navigation.
2
Select companies
Select up to 25 companies.
3
Open the table picker
Click + Table in the top bar.
4
Save to a table
Save to an existing table or click Create new table.
Finding your saved tables
All saved tables appear in two places: Left navigation (tables section) - Scroll down in the left sidebar to find your tables listed by most recent activity. Use the “Search table” box to find a specific table by name. Homepage Recents section - The home screen shows your most recently accessed tables for quick re-entry. Each table shows its name, the number of contacts or companies it contains, and the team member who created it. You will see your own tables (Private and Public) and any Public tables created by teammates. Admins see all tables.Filling an empty table
When a table has zero rows - whether it’s new or you’ve emptied it - it shows three ways to add records instead of search alone:- Search - the primary action, opens the existing search flow.
- Import from CRM - works the same as the Import from CRM button on the home page. See Importing from CRM into Workspace.
- Top daily contacts/companies - adds from your AI Recommendations. See Adding AI Recommendations to a table.
The table toolbar
When you open a saved table, the toolbar at the top gives you access to all key actions:Customizing and saving your column layout
Click Settings on the saved-table toolbar to open the column settings panel.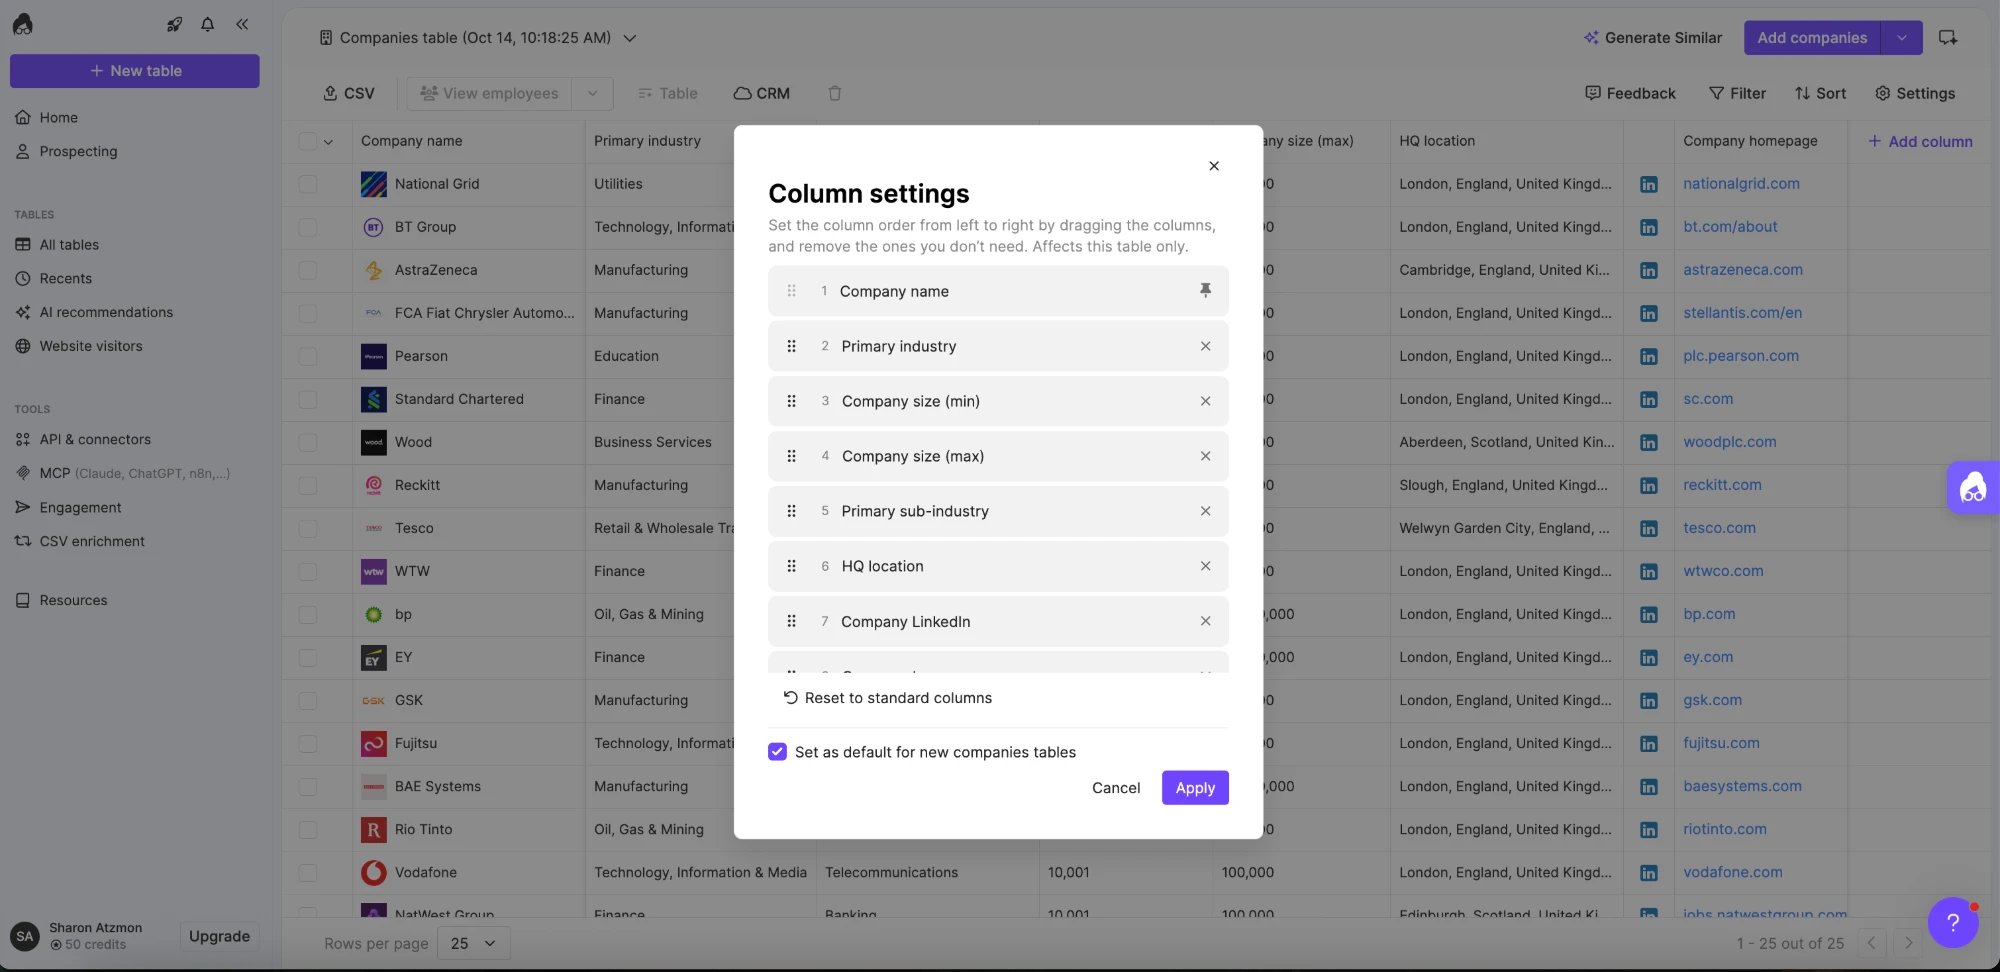
- Drag and drop to reorder columns, or remove the ones you don’t need. Grouped columns (like Signals) move together.
- Tick the checkbox to save the current layout as your default for that table type.
- Contacts and companies each have their own default, and each user has their own - saving a layout on a contacts table doesn’t change your companies default, and your default doesn’t affect your teammates.
- Click Reset to put the current table back to Lusha’s standard columns.
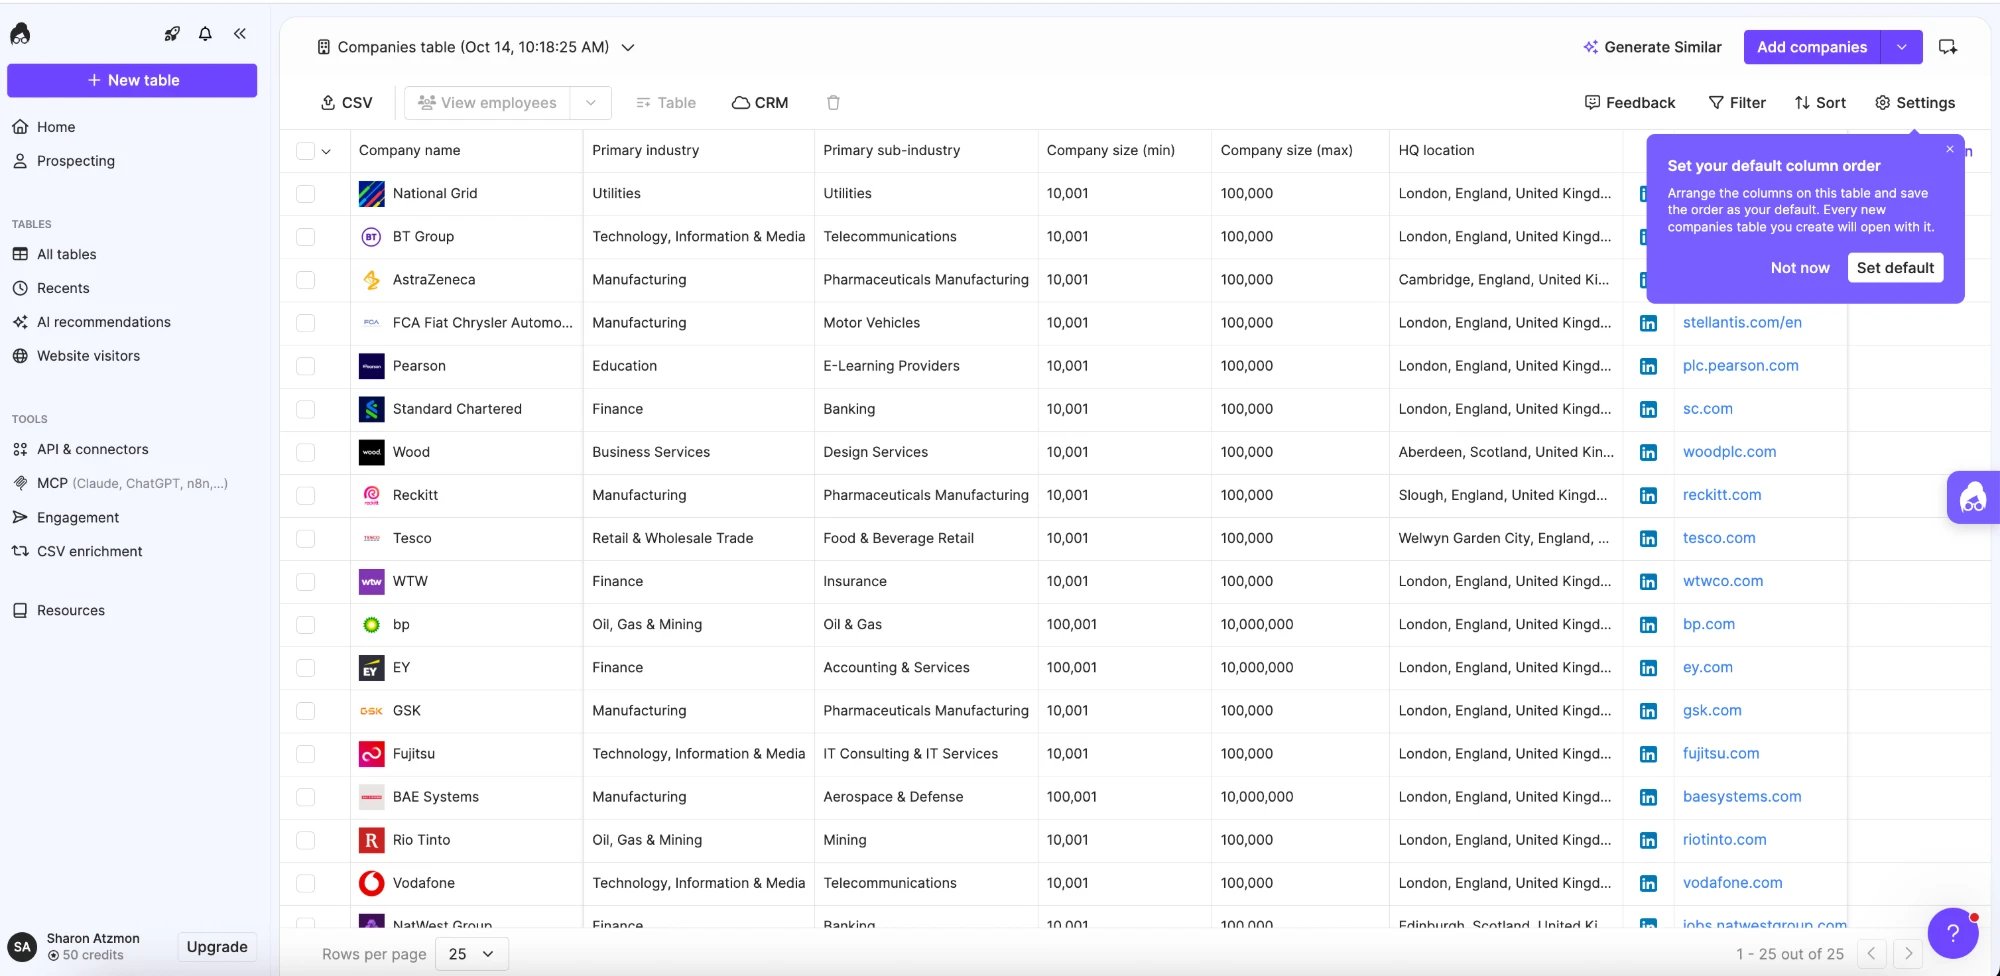
Only new tables you create pick up your saved default. Existing tables, CRM imports, and recommendation tables keep their current columns.
Search tables don’t support saved column layouts yet - this is planned for Q4.
Sorting your table
Click any column header to sort the table by that column. Click once for ascending order, click again for descending. You can sort by: contact name, job title, company name, industry, headcount, revenue, founding year, and any enrichment column you’ve added.Filtering within a saved table
Click the Filter button in the toolbar. The filter panel opens and lets you narrow your table by any column value - industry, location, seniority, company size, or any enrichment data. Filters apply instantly and your row count updates in real time. To clear all filters, click “Clear all” in the filter panel.Viewing contact details
To see a full profile for any contact or company, click Show details in the toolbar (or the “Show details” button on any individual row). A detail panel slides open on the right showing all available data for that record, including phone numbers, email addresses, LinkedIn profile, and company information.Viewing company employees
On any row showing a company, click View employees. Lusha will open a filtered table view showing all employees from that company that match Lusha’s database - without navigating away from your current table.Adding AI Recommendations to a table
Your AI Recommendations - the Top daily contacts and companies scored against your Target Profile - can now be added straight into a table, instead of being a separate destination you visit first. There are two ways in:- A new empty table - create a table and choose Recommendations as the source.
- An existing saved table - open the table and click + Add → Recommendations.
- Recommendations open in a panel over your table, so the table stays in view.
- Filter, sort, and compare Lead Score and Signals before you reveal anything - browsing costs nothing.
- On a company row, click View employees to drill into that company’s contacts.
- Select the records you want and add them in place. They appear in your table straight away.
When you add into a saved table, everything already in that table is excluded from the Recommendations panel in real time - so you won’t get duplicate rows, and you won’t spend credits re-revealing records you already have.
Once you’ve revealed a contact or company, it stays revealed for you. You can add it to another table later without paying to reveal it again - which is why some records may already appear unmasked when you open the panel.
Revealing contact data
Some cells show masked data (•••••••) with a Show button. Click Show to reveal the email address or phone number. This consumes credits based on your plan. Some cells display “Click to run” - this appears for enrichment columns that haven’t been populated yet. See Workspace Enrichment: Lusha Data vs. AI Data Columns for full details on running columns.Viewing multiple phone numbers and emails
Contacts with more than one email or phone number group under a single collapsible column instead of splitting your table into extra columns.- Collapsed (default) - the column shows the primary value plus a +N badge. Hover the badge to see every value without expanding.
- Expanded - the column splits into one column per value (Phone 1, Phone 2, and so on), so each number or email gets its own cell.
- Click the group header above the column titles to switch between collapsed and expanded.
- Each value keeps its type icon (mobile vs. landline) and an info indicator where extra context is available.
Exporting to CSV is unaffected - every value is included in your export whether the column is collapsed or expanded.
Navigating pages
Use the Previous page and Next page buttons at the bottom right. Change the number of contacts displayed per page using the Rows per page dropdown. The number of contacts you can display per page depends on your plan:- Premium and Scale: 25, 50, 150, 500, or 1,000 contacts per page
- Free and Pro: up to 25 contacts per page